Share
Pin
Tweet
Send
Share
Send
The advantages of creating a pillow for rings with your own hands:
Today there is a huge selection of different accessories in the wedding market. Their diverse design, shape and color scheme are amazing. However, for such a pleasure you will have to pay a large sum. In addition, a home-made pillow has such advantages compared to a purchased one as: uniqueness (a thing produced according to its own sketch is unlikely to meet at a celebration with other newlyweds); the ability to create the model that you need (often it’s just impossible to purchase a product that fits all parameters); own implementation (creating such a small masterpiece, you will feel like a real master); personal participation in preparing for the event. In addition, in the pillow for rings made by yourself, there will be so much warmth, love and tenderness that others and, of course, your beloved will feel it.
Materials
Creating a wedding accessory for rings is quite simple. To do this, you will need the following materials:
- fabric (better atlas stretch);
lace;
Satin ribbons of different widths;
-sintepon;
-spool of thread;
-needle;
-scissors;
-transparent glue (it is better to use a moment crystal or glue gun).
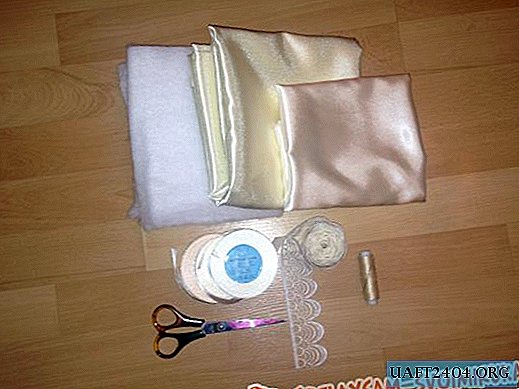
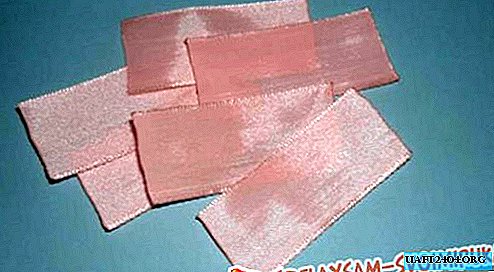
This basic set allows you to create a rather delicate pillow. If you want a more elegant result, stock up with rhinestones, beads, semi-pearls and other decorative "little things." We create the basis of the product. To sew the base of the pillow, cut a rectangle 18 centimeters long and 18 centimeters wide from satin fabric.


Unplug the part immediately. To prevent the edges from frowning, singe them over an open fire. On each side, indent from the edge and draw. As a result, you should get a square. Start stitching the front and back surfaces of the rectangle. Three sides should be joined, and leave the fourth half unfinished. If you work without the use of a sewing machine, it is recommended to make a seam “back with a needle”. So you get dense and neat seams that will not tear when deformed. Turn the resulting part and fill it with a padding polyester. To ensure that the surface is evenly filled, it is advisable to use a single piece of this material, carefully placing it in the corners of the pillow. Sew on the remaining incision carefully.


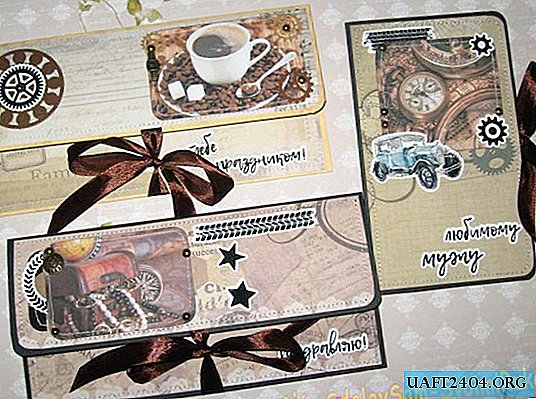
Dressing pads.
Now you have in your hands the finished base of the pillow. You can sew ribbons, bows, beads or other elements to it at your discretion. We will go on a more difficult path. From a fabric of a lighter shade, cut a square so that its size differs from the base by 2-3 centimeters. This will be the front side of the pillow, accessible to the eyes of the newlyweds, guests and the camera lens. Overcast the edges. Glue the satin ribbon on top of the square so that its ends are not visible. Glue the lace in the same way below. To give originality to the product, make a line around the entire perimeter of the square-face, stepping 3-5 mm from each edge. From satin ribbons 1 and 0.5 centimeters wide, make two bows and glue them to the decorative square. The final step is to fasten the decorated element to the blank of the pillow. To make the product look more presentable, leave it for 2-3 hours under the press. You just have to place the rings on the pillow, passing them through satin bows.


Share
Pin
Tweet
Send
Share
Send