Share
Pin
Tweet
Send
Share
Send
So, let's get to work. We collect 6 loops and connect them in a circle. It’s quite easy to connect - to do this, pull the thread through the first and last loops, so that one loop is obtained.
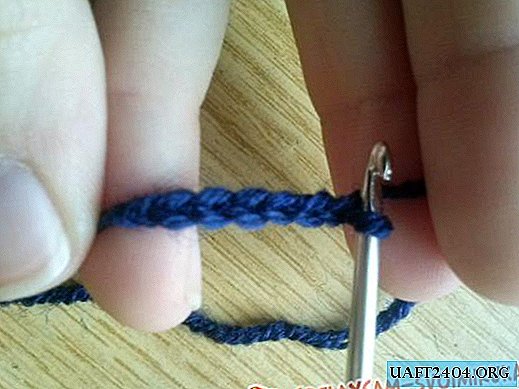

After we have a circle, it is worth tying it. To do this, knit 10 columns without additional sprinkling on heat. You should get it this way:


Do not forget to interconnect the rows, because, having missed this, you will not get a beautiful flower, but it is not clear what. Next, we will work on knitting columns from additional loops and sketches. To do this, add three more loops to the already existing loop of the new row, then add one sketch and only after that we knit a new column. Thus, it is necessary to knit the entire row, but! This row should contain 16 columns, which means that, knitting it, you should alternate one and two columns in the previous lower row.


Now we will cross to a new row, but with a double sketch to the loop. To do this, first add four more loops to the existing loop, and then make a double sketch:


Thus, we knit the whole row, but in the end result we should get 25 columns. To do this, in the same way as with the previous row, alternate one or two columns from one loop.

We should have such a circle. When the circle is ready, you can go to work with the petals. To begin, we collect 15 free loops, to the existing one, and connect them to the previous row through 5 columns.


Similarly, we do four more times. As a result, we should get this:

In order for everything to turn out beautifully, the resulting leaves should be knitted with simple columns, without additional loops and a sketch (just as we knitted the first row).


We knit the next row in exactly the same way as the second - add three loops and one additional sketch.


Thus, we knit the entire row.

To make the knitting beautiful and not overtightened, after the patterned row, we use a simple pulling row (just as the first row and the petals were knitted).


We knit the next row in the same way as the third - additional loops with two drafts.


Then again comes the pulling row, which will be the final in this flower. This is what we should end up with.

One flower is ready, but for the clamp we need 15 flowers. After they are ready for us, we proceed to their connection. Everything here is much simpler than it might seem at first glance. If you look closely, then in its form our flower resembles a five-foot, and we will connect it according to these “cuts”.

Thus, we connect all 25 flowers together, so that we get three rows of 5 flowers each.

Now you should add the final touch - namely, to connect everything in a circular fashion to give it the shape of a clamp.
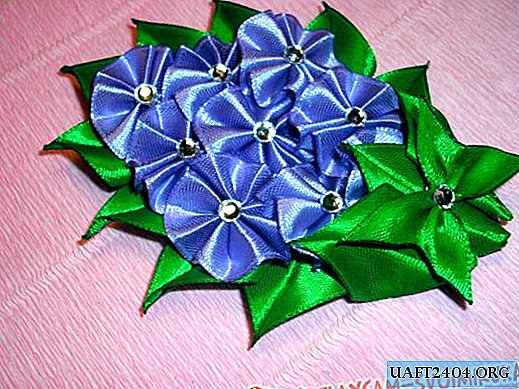
That's all. The easy flower collar is ready.
Share
Pin
Tweet
Send
Share
Send

