Share
Pin
Tweet
Send
Share
Send
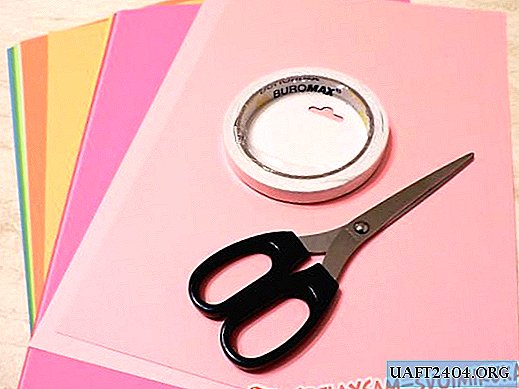
Print the owl pattern in duplicate on a sheet of A3 format.

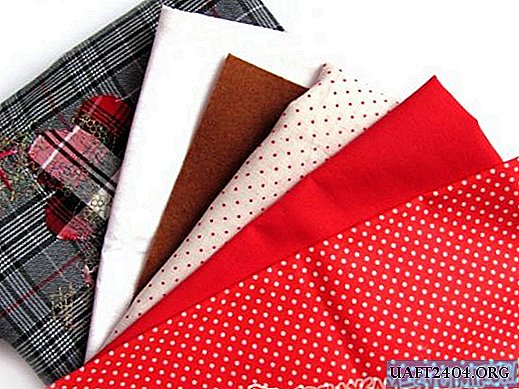
Cut out all the details of the pattern from the fabric according to the legend. In this case, cut out the details of the body from the checkered fabric.

From the red and checkered cotton, cut the details of the wings, from white and red fabric into small peas, cut the details of the pockets.


From fabric to fabric in red polka dots, cut out the details of the legs.

Cut eyes and beak from felt. Strengthen all cotton parts from the wrong side with non-woven fabric.

This stage can be neglected if dense fabric is used in the work. Prepare your pocket. To do this, fold both of its parts with the figure inward and lay a straight line along one of the long sides.

Turn and iron the part, and then lay the decorative stitch again.

Lay on the working surface one of the parts of the body with the wrong side down. Put a pocket on it.

With an interval of 7-10 cm, lay straight, perpendicular fold lines, lines, thereby connecting the pocket to the body part and creating dividers for the remote control and the phone. Sew the eyes, eyelids and beak of the owl with a zig-zag seam.

Now take the details of the wings. Lay them on the work surface with the figure inward, put the ironed sintepon on top and lay along the perimeter of the wing, excluding only its base, a straight line.

Along the line, cut off the extra sniton, twist and iron the wing. Now, to fix the synthetic winterizer and give the wing additional rigidity, lay a straight or decorative line along the perimeter of the wing, departing from the fold line of 3 mm.

Assemble the second wing in the same way. Fasten the wings to the main part with tailor pins.

Fold the legs of the legs with their faces facing each other, lay a straight line along their perimeter, leaving a hole 5 cm wide for turning out.

Turn out and iron the legs, and then fill them with padding polyester and sweep to the main part.

Cover the product with the second part of the body and lay a straight line along the perimeter, leaving a hole for turning out between the legs.

Turn and steam off the workpiece. It remains only to fill the owl with a synthetic winterizer and close the hole with a hidden seam. DIY do-it-yourself pillow pillow!


Posted by: Elena Tregub
Share
Pin
Tweet
Send
Share
Send