Share
Pin
Tweet
Send
Share
Send
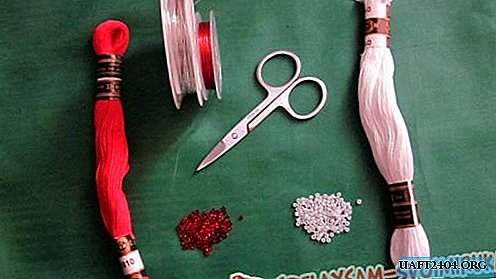
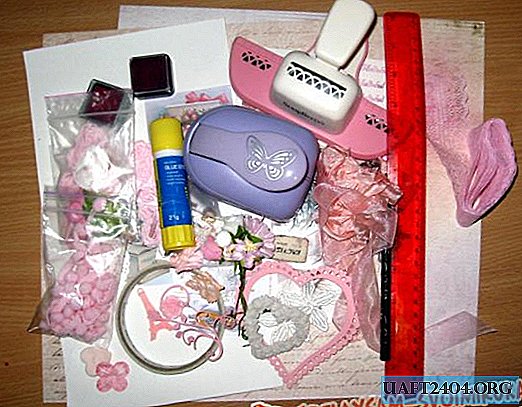
To make a postcard you need to take:
• Watercolor paper measuring 17 * 30 cm;
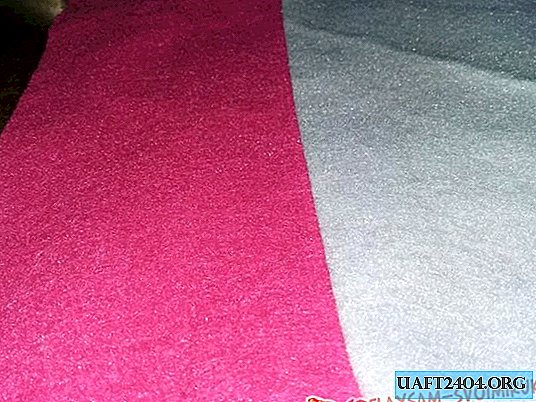
• Paper wedding tones from the collection of "Shabby" sheets 30 * 30 cm of two similar designs;
• Pictures colored pair of swans with rings, newlyweds, wedding bells, angels, rings;
• Two stamped inscriptions on watercolor paper "Happy Wedding Day", ink pillows;
• Felling: curl large pink, hollow pink heart;
• Ribbon shabby pink-peach;
• Fabric roses on a pink ribbon;
• Half beads pearl peach and white;
• Curb hole punch;
• Stamens with glitter pink;
• Pink curly cornflower;
• White latex rose;
• Organza ribbon light pink 25 mm;
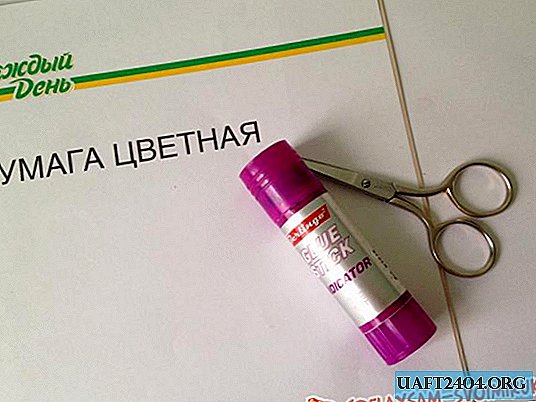
• Eraser, ruler, pencil, glue stick, scissors, thermal gun.
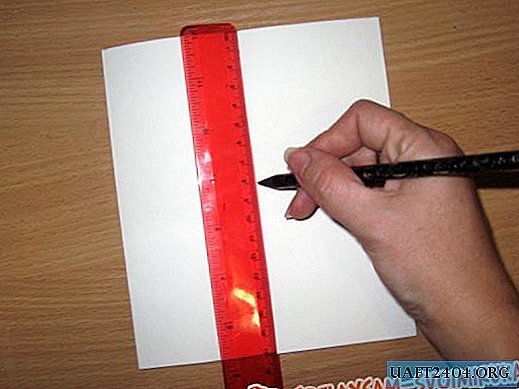
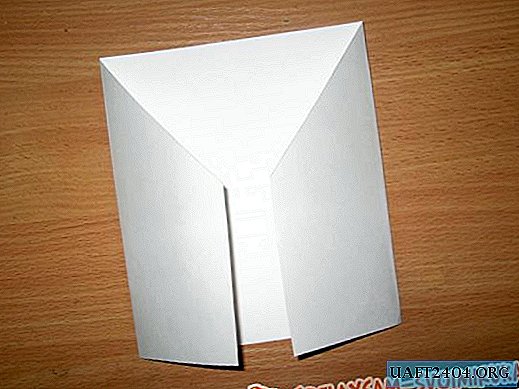
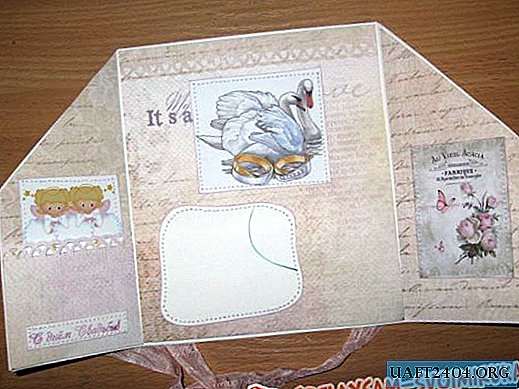
We lay horizontally watercolor paper, from it first we need to make the basis of our postcard. Divide the sheet from above and below into parts 7.5 * 15 and 7.5 cm, and leave it at a height of 17 cm.


Now we connect the marks above and below and draw invisible lines with scissors. Wrap in and fold the base of the postcard.


In the middle we put a mark at 8 cm, which we retreat from the bottom and cut off the corners on both sides of the base.
Now cut off two pieces of shabby tape and glue with double-sided tape on the back of the base.
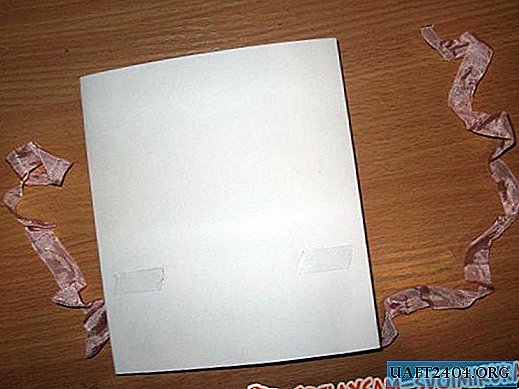
We prepared the base completely, now we take two sheets of shabby scrapbook paper.


Cut two rectangles 14 * 5 * 16.5 cm.

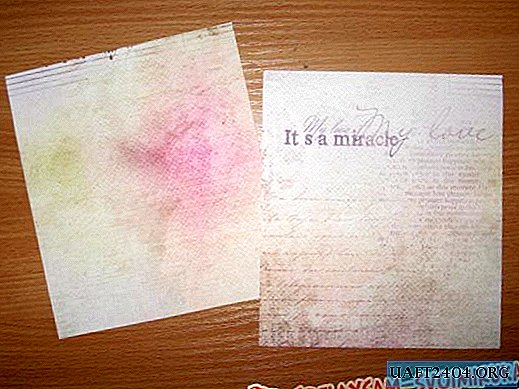
And then four more such quadrangles corresponding to the sizes in the photo. And another small rectangle for a money pocket, which on the one hand is made curly. Now we need to cut such a curly piece of watercolors from watercolors, toned its edges, we will have it for congratulations. We also stamp two wedding inscriptions and tint them the same way around the edges, and then do the same with the pictures.


Glue everything with pieces of double-sided tape on scrapbook paper.


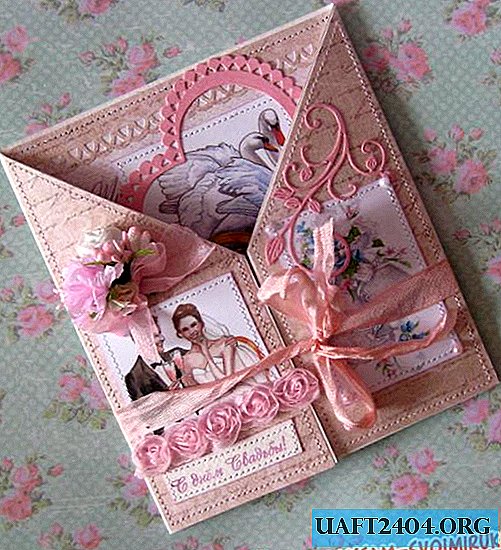
Now, separately, each element is flash on a typewriter. Now we collect everything on a basis. We also glue everything on strips of adhesive tape both inside and out.


We sew the inner large workpiece from the inside. And the closing sides, on the contrary, are outside.

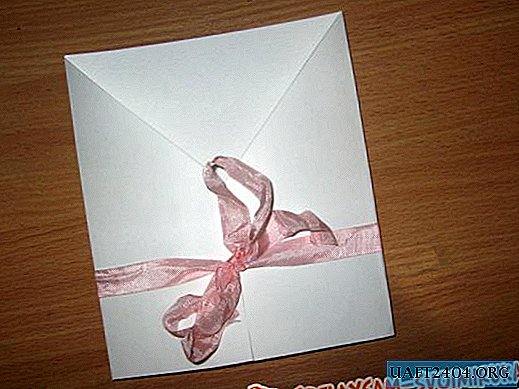
Fold and tie a bow card. Now we glue the curl, inside on the swans we glue the heart, as well as the rest of the decor, as in the photo.

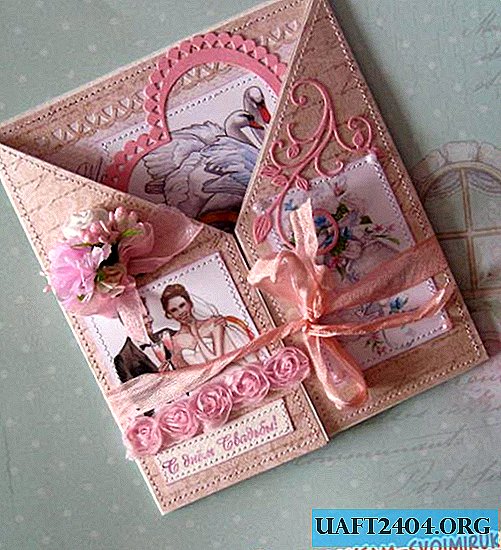
We get a very tender shabby envelope postcard for the wedding! Thank you all for your attention and good luck to everyone!


Share
Pin
Tweet
Send
Share
Send