Share
Pin
Tweet
Send
Share
Send
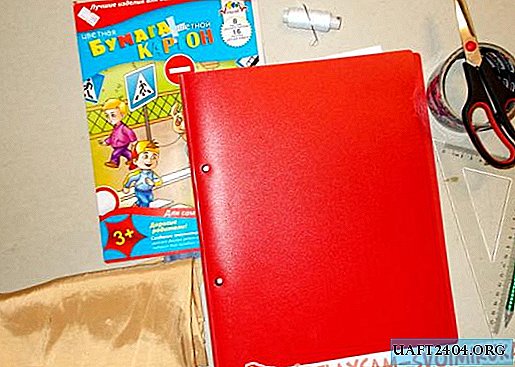
To create such a box, we need to take:
• 15 * 15 cm two blanks and 5 * 15 cm 1 blank from binding cardboard;
• Sintepon;
• Pink and mint fabric of good quality, we take cotton made in Korea;
• Light pink lace;
• The cut-out paper napkin of pink color;
• Card with a cute bunny;
• White and pink metal brads;
• Pink paper hydrangea flowers;
• Ruler, glue stick, scissors, double-sided tape, simple pencil, elastic, glue with the effect of adhesive tape;
• Color card “Mom’s and Dad’s Treasures” (it is done in the Photoshop program);
• Metal pendant 2016;
• Satin ribbons light pink and mint;
• Lighter;
• White cardboard;
• Watercolor paper 33.5 * 33.5 cm;
• Scrapbook paper in pink, two sheets;
• Ink pad.

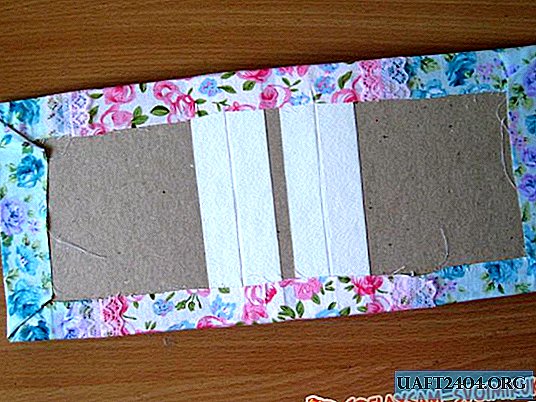
So, we have three blanks from thick cardboard, with the help of white cardboard we need to make one solid base of the box. To do this, we cut two strips of 4 * 15 cm white cardboard, fold up the binding parts, as in the photo, spread white cardboard with glue-stick and glue between the binding parts.


We connected and we get just such a basis, at the places of bending we carry out scissors several times so that the workpiece smoothly and beautifully turns into a casket later.


Turn over and glue double-sided tape strips.


We glue the synthetic winterizer. Now we take the fabric, in the center with the stocks we cut off the pink fabric, and add mint pieces on the sides. Between the fabrics at the junction, we will sew wide lace, so we cut two strips.


For a bow on the box, cut off the cut of each ribbon, we burn the edges with a lighter.


Now we need to iron both the fabric and the ribbons. Sew the fabric into a continuous fabric, sew the lace between the fabrics.


Now we need to tighten the base of the box with a cloth, put the workpiece like this on the cloth, start spreading the corners, wrap and glue it.


Tapes are also glued on tape from the inside, one on the other side, the second on the other.

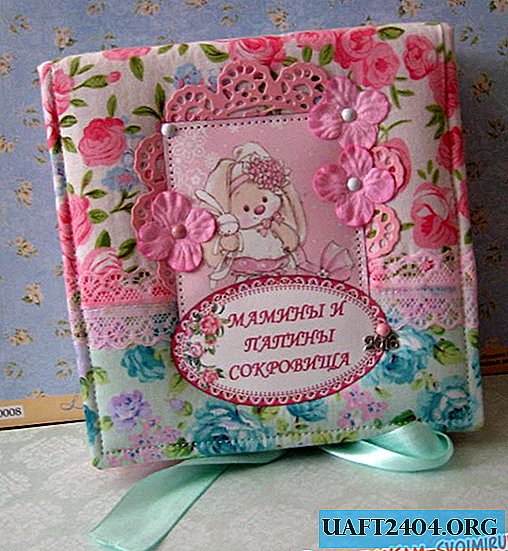
We put the box and try on a napkin, a card and an inscription. In this sequence, we will collect everything on the cover. We tint the edges of the picture and the inscription.


From a large watercolor square we need to make the base of the box itself. Divide each side of the square by such dimensions 4.5 * 5 * 14.5 * 5 * 4.5 cm.


Now we connect all sides with invisible lines using scissors under the ruler.


Sew the entire casket around the edge, and also sew the picture and card. We fold the box and insert the brads flowers inside and fasten around the picture. We also attach the suspension.


From scrapbook paper we cut a rectangle of 14.5 * 22 cm and glue it inside the cover.

We put this workpiece under some kind of heaviness. Prepared a watercolor base, cut off excess corners.


Glue and sew a square 14 * 14 cm inside the base. Glue it and get such a box.


From another paper, cut out three rectangles of 5 * 14.5 cm and glue the box on three sides. We fold the box cover in two places and glue the base of the box into it.


Close and get just such a box for all sorts of different little things your baby. It can also store photos and other trifles. Thank you for your attention, see you soon!


Share
Pin
Tweet
Send
Share
Send