Share
Pin
Tweet
Send
Share
Send
The schemes of other crafts should be introduced to them by adults, starting with famous characters or objects.
This paper bird can easily be made even by a preschooler. The main thing is that you need to carefully read the step-by-step photos, carefully and consistently perform all the actions.
For work you need a square sheet of colored single-sided paper. Let the child decide what color his bird will be, then it will become much more interesting for him to collect it.
How to fold a bird out of paper
Take a square piece of paper.

Turn it with the colored side down, and put it as shown in the photo. Draw a vertical line that divides the square diagonally in half.

Bend the sheet along it, iron the fold. He should be on the right.

Divide the width of the triangle into 4 equal parts by making small marks. Draw a vertical line through the first point from the fold.
Fold the top layer of paper along this line to the right. Iron the bend.

Draw a horizontal line dividing the figure in half.
Fold the blank over it.

Bend one of the moving triangles upward at an angle to the left. Its corner should protrude 2.5-3 cm above the figure. This is the wing of the bird.

Bend the second triangle for the craft, slightly changing the angle of inclination.

To make the bird’s head, bend the right corner of the craft down, as shown in the photo.

Then open this part of the workpiece, fold it again so that the fold indicated by the arrow is inside.

The figure already resembles a bird. But she still does not have a ponytail.

Take a pencil and draw the bird the missing part of the tummy and tail. Cut off the hatched part of the craft.


In the head area, designate a place for the eye. It can be cut out of paper or drawn with a felt-tip pen.

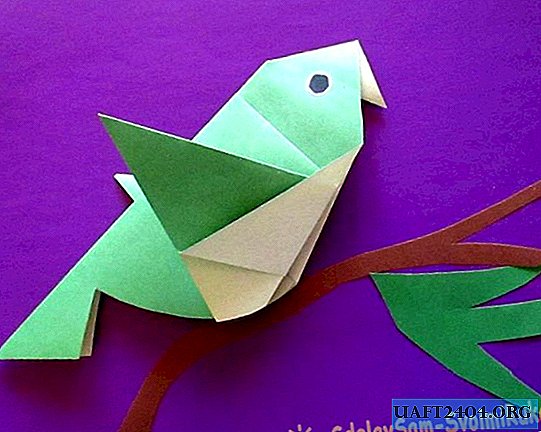
To finish the work, select a beautiful background, plant a bird on a branch cut out of paper.

The bird from paper is ready!

By the way, she looks like a sparrow, nightingale or bullfinch. It all depends on what color the paper will be.
Share
Pin
Tweet
Send
Share
Send

