Share
Pin
Tweet
Send
Share
Send
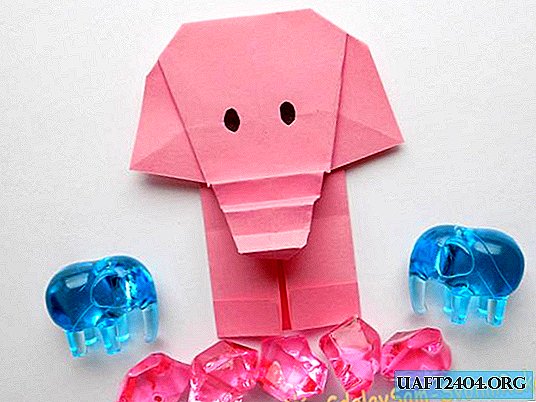
To create such an elephant you need to take:
- - 2 square paper sheets;
- - black marker.

From one square we will make the head of an elephant, and the second will be required to create the trunk and legs. Let's start with the head. To do this, add one of the squares along two diagonal lines.

Then the upper corner must be bent to the center. This will be the top of the elephant's head. And the bottom corner is bent quite a bit upwards (by 1 cm). This will be the bottom of the trunk.

Now we form the sides of the head. To do this, we make folds on the sides. First, diagonally bend the left side.

After that, we perform a symmetrical fold to the right.

We bend the corners from the resulting bends to the sides. These will be the ears of our elephant.

On the reverse side, the head of our animal is as follows.
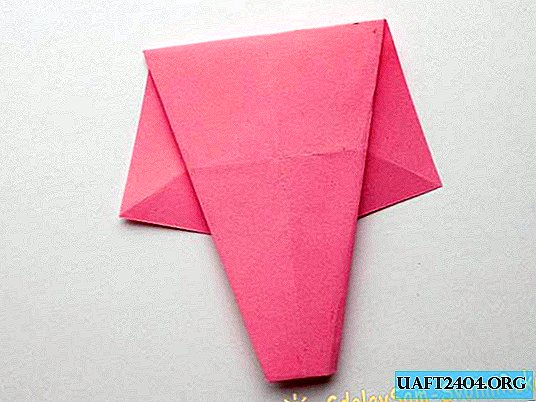
Let's create the trunk. To do this, bend the lower part up.

Then we bend it down, forming a small fold.

We continue further in the same way.

On the head we will draw eyes for the elephant.

We bend the upper corners back a little. So we give roundness to the elephant’s head.

From another pink square we will form the trunk and legs of an elephant. To do this, first do the transverse bends in two directions.

On the one hand, we perform a small bend (about 1 cm).

Turn the sheet over. After that, we make a bend from the side to the center.

On the other hand, we perform a symmetrical bend.

It remains to connect two finished parts together. Our pink origami elephant is ready.

Share
Pin
Tweet
Send
Share
Send

