Share
Pin
Tweet
Send
Share
Send
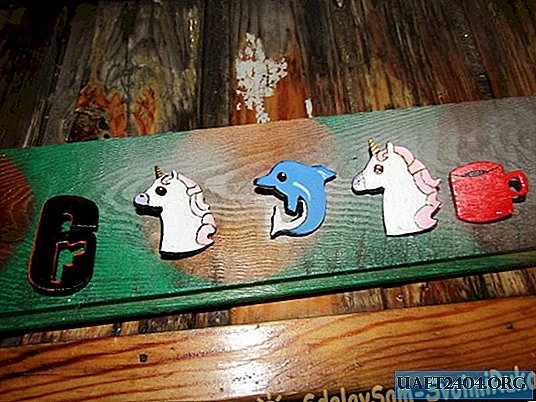

To make badges we need:
- Plywood (you can ask friends or search at home).
- Any picture for the icon.
- Pin.
- Hand jigsaw with thin files.
- Files and files.
- Stationery knife.
- The incinerator.
- Glue ("Super glue" or "Cosmofen").
- Paints and brushes.
- Clear nail polish.
- Fine sandpaper.

1. Draw your badge on plywood. Draw clearly, otherwise, when cutting, the outline will not be visible, and the icon will turn out to be curved.

2. We take a manual fret saw and we begin to cut out an icon on a contour. If you have holes in the icon, you can drill it with a drill or a rotor, and then insert a jigsaw file into this hole and continue sawing.

3. After sawing, our badge may appear jagged. Fix it with files and files. Also do not forget to chamfer - polish the corners of the icon. Now we sandpaper the front part with fine sandpaper so that the surface is smooth and the paint goes better.

4. On the back of the badge, you need to cut a hole with a clerical knife, so that subsequently the pin goes into this hole, and the fastening of the badge and the pin is stronger.

5. If desired, with the help of the burner, you can make contours on the icon so that it looks more voluminous.

6. Glue the pin on the back of the badge so that part of it goes into the hole made earlier.

7. When the glue is sufficiently dried, you can start painting the icon. We paint with gouache or acrylic paints. Do not forget to paint the edges, in some cases it is better to paint them black or the color of the entire icon.

8. And the final stage of making the badge is varnishing. This can be done, as well as ordinary transparent nail polish, and special. It is imperative that the varnish is waterproof, otherwise in some circumstances it can simply be washed off with the paint.

In the same way, you can make icons of any shape, color and size:

Share
Pin
Tweet
Send
Share
Send

