Share
Pin
Tweet
Send
Share
Send
Disassembly
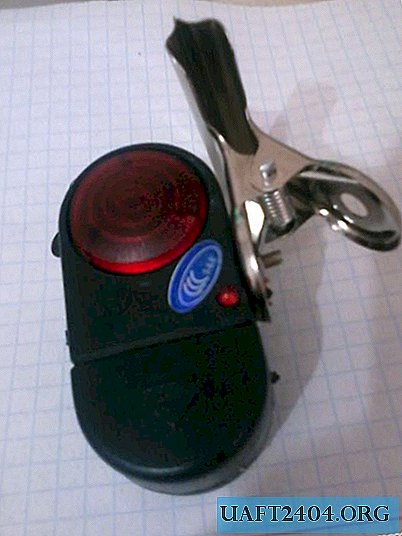
Carefully remove the clothespin. To do this, remove the cover and unscrew the bolt holding the clothespin. Then we remove all the giblets. This is a board, speaker and LED. We do not tear anything, but simply get it so that all the wires remain in place. There are two switches. One on the board, which includes the entire device. The second smaller one, is separate from the board, it turns on when the fish pecks.


Alteration
We solder the wires from the second switch and solder to any other. A switch that turns off when you remove your finger will do. It is important to solder the wires long, in my case it’s about 15 meters. You can take a thin wire, millimeter 4. Then we solder the LED. We do not need him. Of course, it can be left, but it is of no use, since it does not shine brightly. You can try to connect the bucket through a transistor, but this is too much fuss, I did not do this. You can also connect the speaker through a resistor if the sound is loud in your opinion, but it suited me, so I didn’t do that either. It remains to push all the details back into the housing, removing the wires for the switch.

Then I glued the case with tape to the wall above the door. Then he pulled the switch to the right place and glued it with super glue. Everything works, so I didn’t mess anything up.
Share
Pin
Tweet
Send
Share
Send

