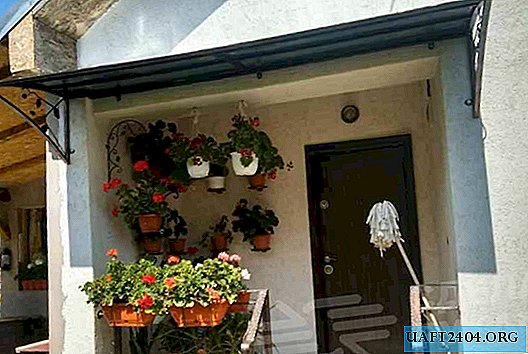
The visor above the porch of the house is not just an essential item, but its presence is still desirable. Why?
Firstly, it reliably shelters the porch and front door from the rain. Secondly, the visor will help the owners of the house to hide from the weather.
To make a simple design on your own even by a novice master. So let's get down to business.
The visor consists of a frame and roofing material. For the frame we will use a profile pipe, and we will cover the visor with sheet metal.
The main stages of work
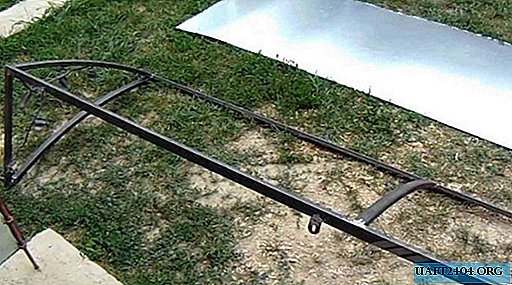
First of all, it will be necessary to weld a part of the frame, which will be attached to the wall.
Each house has a different porch size, so the size of the visor will also be individual in each case.
Cut off the workpiece of the desired size from the profile pipe, and weld them together.

Many of us have an eye - a diamond, but when welding corner joints, it is better to use a corner (not the construction one, but the magnetic one).

After that, we cut off plates of a suitable size. They need to drill holes. And then the resulting "ears" are welded to the frame.

Next, we attach this part of the frame to the wall, set it as we need, and make markings for the mounting holes.

On the roll forming machine we produce bent elements and weld them to the previously welded part.

No profile bending machine available? It's not a problem! You can also make it yourself from improvised materials. We recommend reading the article: a profile bending machine for a workshop from a piece of a channel.
Then it remains only to clean the metal well (for example, from dirt or rust), and paint.
Cut the sheet of metal to size and fasten it to the frame on the screws. Instead of sheet metal, you can use any other roofing materials.
For details on how to make a visor above the porch of a house from a profile and sheet metal, see the video.

