DIY drywall installation
First, preparatory work is being done. It is necessary to dismantle the old plaster, or clean the wall from wallpaper. Before installing drywall, the wall is carefully primed. This can be done with a spray gun.
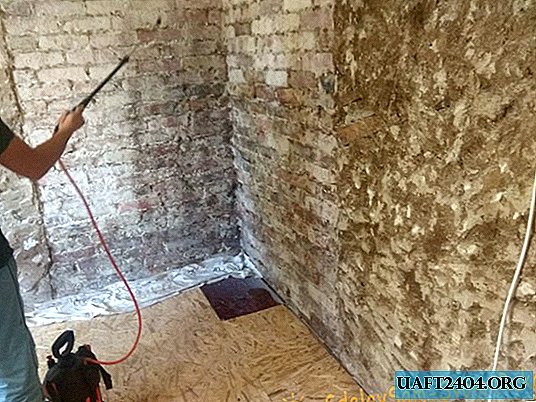
This option is more economical and faster than if you would do it with a brush or mowls.
Then mix the glue with water. For this you need a mixer and a bucket.


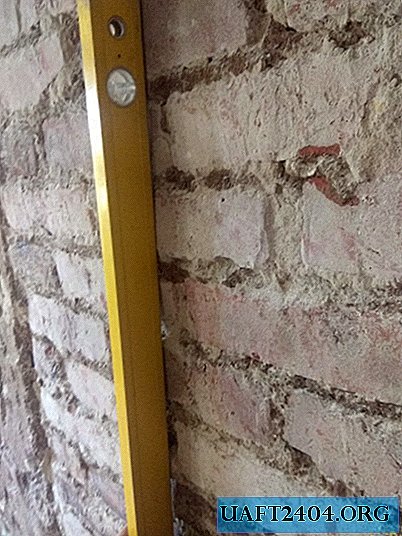
Before applying the adhesive to the wall, check the approximate level of the wall to determine in which place more solution is needed, and in which less. Also below you can mark the line along which you will install the sheet. In addition, it is better to start from any corner of the room. Therefore, you will also need a square in order to mark the exact line.


Then apply glue to the wall.
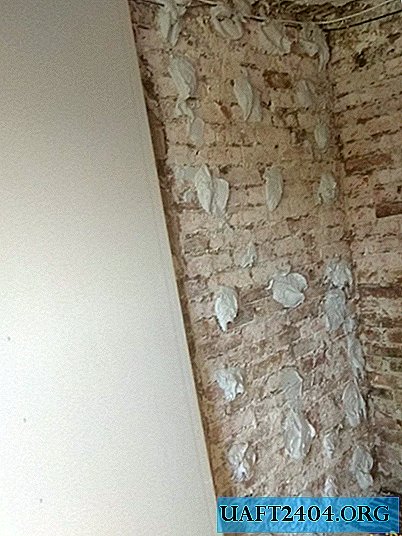
Since it dries quickly, this must be done immediately. After applying the glue, immediately place a sheet of drywall. It is best to prepare a sheet by cutting off the required size in advance. Drywall trimming is carried out with a construction knife. First, the first layer of cardboard is cut, after which the gypsum chips off along this line.

When you have glued drywall to the wall, it must immediately be leveled.

You have some time before the glue sets. To do this, use the rule and the construction level. You can check the level from top to bottom. First, vertical, and then horizontal. Tap drywall carefully so as not to overdo it. As additional fasteners, you can use self-tapping screws or special fasteners for drywall (butterflies).
In the same way, the second and subsequent sheets of drywall are installed.


Since the glue dries quickly, do not knead more solution than necessary on 1 sheet. When installing the following sheets, pay particular attention to the horizontal level. Attach the rule to two sheets, and make sure that you do not have a large clearance between it and the drywall.
In hard-to-reach places, such as batteries, you can type a wall from drywall sections. It will be easier.

However, if it is possible to temporarily remove the batteries, it is better to do so. When you completely cover the walls with drywall, all the seams between the sheets must be glued with a net (serpyanka), and putty with a special putty for the seams.


This is necessary in order to avoid cracks in these places in the future. After the putty for the joints has dried, the walls must again be primed and puttyed with a finishing putty.


After the putty is dried, the walls are cleaned from bumps. If you plan to paint the walls in the future, then it makes sense to smear the second layer of finishing putty. If you plan to stick the wallpaper, then just one layer is enough.

