Share
Pin
Tweet
Send
Share
Send
Before starting work, carefully prepare the floor surface. This is one of the most important points. Tiles are laid only on a “confident” surface: linoleum or caving boards will not work here. To level the surface of the floor, you can use plywood. However, this is not enough. In order for tile adhesive to make good contact with the floor, I recommend leveling the surface with a screed. The smoother the surface, the easier it is to lay the tiles.
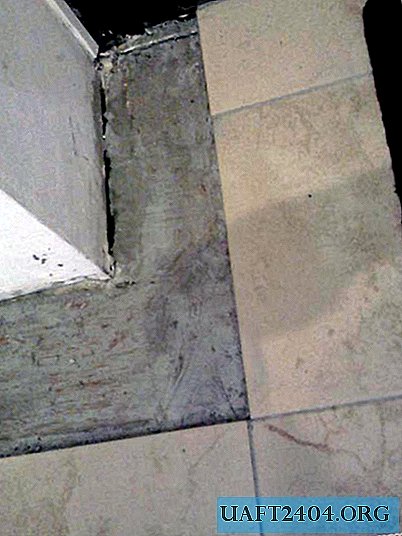

Next, you need to determine the sequence of laying the tiles. Typically, whole tiles are laid out in accessible, central places, and trim around the edges where the tile does not fit.
Actually with solid tiles and start. Knead the glue according to the manufacturer's instructions (mix thoroughly until smooth, without lumps, and maintain a technological pause for about 10 minutes). Next, with an ordinary spatula, spread the glue on the prepared surface with an even layer. Then we draw a notched trowel along the layer, so that we get strips. We lay the tiles carefully: first we completely lay one edge, and then slowly lower the second. Then press the tile with your hands so that it stands up evenly. The styling process itself is not complicated. However, it is important to remember that the distance between the tiles should be approximately 3-4 mm. And when laying each tile, use the building level: all tiles must be in the same plane.


When the whole tiles are laid, you can begin to manufacture blanks. To do this, we take measurements, draw on a tile and cut off unnecessary residues with a grinder. Some builders use mechanical or electric tile cutters. However, complex blanks are easier to cut with a grinder. Next, we continue the process of laying tiles, observing the gaps. Please note that the tile should not rest against the wall (clearance is required).
After completion of work, it is necessary to ensure complete rest of the laid tile. The glue dries out completely after 24 hours. Then the tile can be subjected to stress. After 3 to 4 days, it is necessary to clean the seams between the tiles and using a grout thoroughly grease them, removing the excess.
The places of transitions of tiles to linoleum or laminate close ordinary sills. Close the joints with the wall with a skirting board or border tile. After drying, the floor is ready. Good luck.


Share
Pin
Tweet
Send
Share
Send

