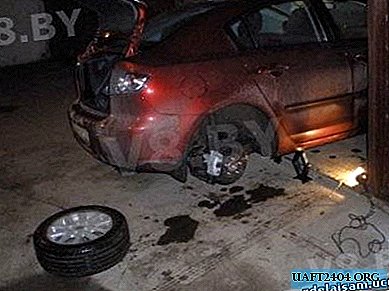
In this review, the master, using the figure of a wolf, will show how you can make the original “nozzle” (cap) for the towbar with your own hands.

The first step is to make a silicone cast. And for this you will need clay, with which the author will make the sides.
You will also need more coating silicone, which must be applied with a brush.
Please note that this silicone hardens quickly, and therefore it must be bred in small portions, gradually increasing the layer of the impression.

Next, you need to make a plaster cover. To do this, the master blinded a “muzzle” of plasticine. It is a dividing side, necessary in order to make two half-forms.

Mold making process
Now you need milk, a bandage, gypsum, and, of course, a container in which you can mix the solution.
Pour a small amount of water into the prepared container and add milk (approximately 0.1 ml). It is very convenient to do this with a syringe.
Milk in this case works as a moderator - it does not allow gypsum to harden quickly. However, if you go too far with it, then the gypsum will not freeze at all, which will be very sad. Therefore, do not pour milk "by eye".
Pre-cut pieces of the bandage dipped in a gypsum mortar, and then lay layer upon layer on the head of the wolf.

When the gypsum has hardened, you can begin to manufacture the second half of the mold. But before that, you need to trim the flake.
After that, the author makes a marking for small indentations along the contour of the form, which will serve as a castle. And the joint must be smeared with a separator.

The second half of the form is done in the same way as the first. That is, you will again need a gypsum mortar and segments from the bandage.
After the second half of the plaster mold has hardened, you need to disassemble it. Then you need to cut the silicone mold.
The main stages of work
The silicone mold must be inserted into the gypsum, which then needs to be fixed with tape.

After that, the author pours a little melted wax into the form. The temperature is about 75 degrees. This is the optimum temperature so that the wax is evenly distributed throughout the inner cavity of the mold.

To disperse the wax, it is very convenient to use a silicone plate (or some kind of silicone mold).
Silicone is very tight to the form, without forming any gaps. Thanks to this, you can build up a fairly thick layer of wax.
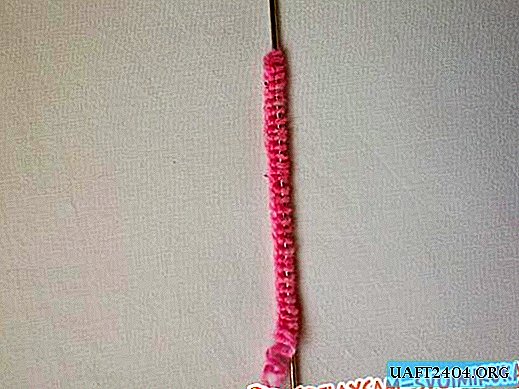
Next, with the help of a hairdryer, we heat the frozen wax so that it can be stretched to the diameter of the cap from the towbar.

Stretching without preheating is extremely dangerous, because the wax can simply burst, and then you have to redo everything.
Next, we extract the finished wax form from silicone. After that, it will be necessary to solder the gating channels for the ears.

From the cast wax plate, the author cuts the "spare parts" that will be used to create the gate system and fangs.
To work out the details, the author uses clay modeling tools. For this purpose, the cheapest are suitable.
Mold fill process
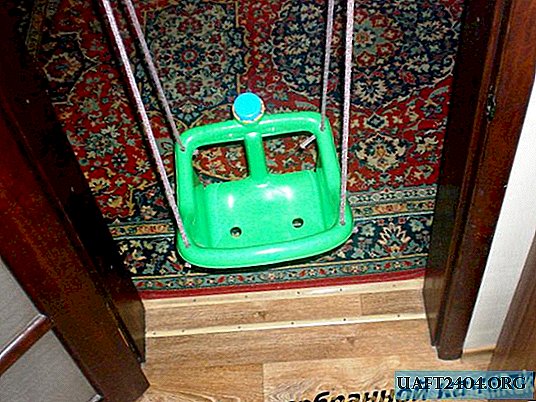
The author makes an elementary suspension from an ordinary wooden battens on which our wax model will be mounted.
The rail is screwed to the wax with screws. In the future, the model will be installed on a cylinder twisted from a hard varnish, which is fixed with plasticine around the circumference.

Before pouring the wax model with gypsum, it must be coated with a liquid solution prepared from a mixture of sand and gypsum with the addition of milk.
Thanks to the coating, the number of air bubbles can be minimized. All this is done in order to do without the use of a vacuum installation for degassing.
After that, the author breeds the main part of the gypsum, which is designed to completely fill the product. Gypsum is also mixed with sand in 1: 1 proportions. Fill the form.

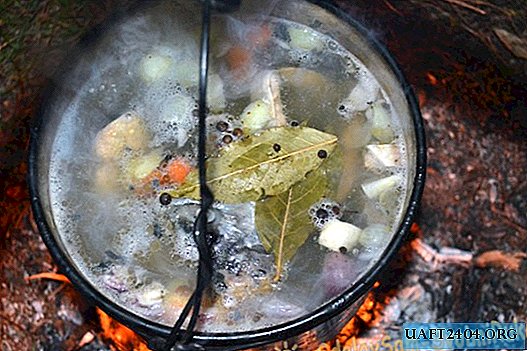
After the gypsum mold has hardened, the author puts it in the microwave to melt the wax from the mold. It is very convenient.
After melting the wax, the author puts the plaster mold in the muffle furnace for calcination. The temperature is 450 degrees. It is necessary to maintain the form for 4-5 hours.
Making a "nozzle" for the tow bar
We put the plaster mold in a metal container (bucket or pan), set the sprues and fill it with sand. In this case, the author made sprues about 20 cm high.
Next, we melt the aluminum and pour it into the mold. Immediately after pouring, the author additionally heats the runners with a gas burner to avoid shrinkage.

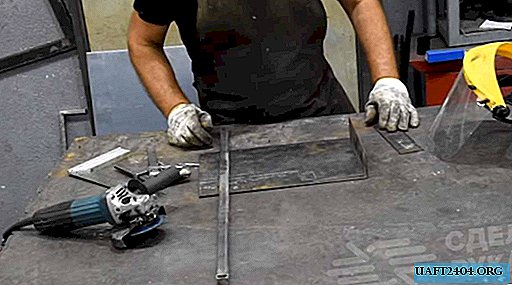
Then we break the plaster mold, remove our molded product, clean it, saw off the entire sprue system and correct the deficiencies in detailing using a drill.

For details on how to make the original "nozzle" for the towbar with your own hands, see this video.